Sunday, 21 February 2016

32x8 Temperature Display

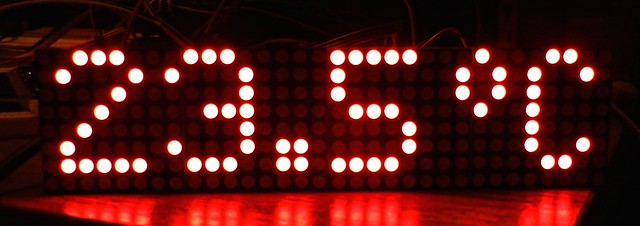
Managed it. The 32x8 LED matrix can now display temperature to one decimal point.
Making the digits just 5 dots wide enables more to be shown on the four 8x8 LEDs:


Another project on the Round Tuit pile for boxing up.

After running the display for a while I made a small adjustment, moving the decimal point to the bottom and reducing the degree symbol a tad:

 DSCN5867

The LEDs look white on photographs but they are actually bright red.

Saturday, 20 February 2016

Another Arduino Project

While I'm waiting for a couple of parts for the weather station I decided to have a play with a larger LED display. This one is made up with four units each with 8 LEDs across and 8 LEDs down so the whole matrix is 32 x 8. Total size 5 x 1.25 inches (128 x 31mm). Each LED is addressable so, with a bit of programming, it can show simple graphics, letters and numbers. My first attempt was an abject failure to show anything but the next day I found I had the two data connections reversed. Once put right it sprang into life. The shapes of letters and numbers have to be defined in the program. That took a while to investigate and remember from school days how to use arrays to store information and how to retrieve and display it. The letters came from a program on the internet but the numbers I had to design myself.

This is the display, driven by an Arduino Uno R3 and powered by a 5V battery:


So far just a test program to get everything working as I want. My aim is to add one more part to measure temperature so I end up with an electronic thermometer I can read from across the room.

As you can see, the Arduino driven turntable I made quite some while ago is still working.

Wednesday, 17 February 2016

Wordless Wednesday

DSCN5858
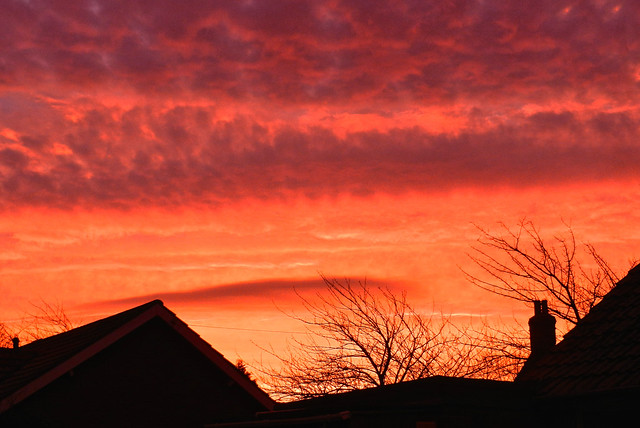
Sunrise 17th February 2016


DSCN5859
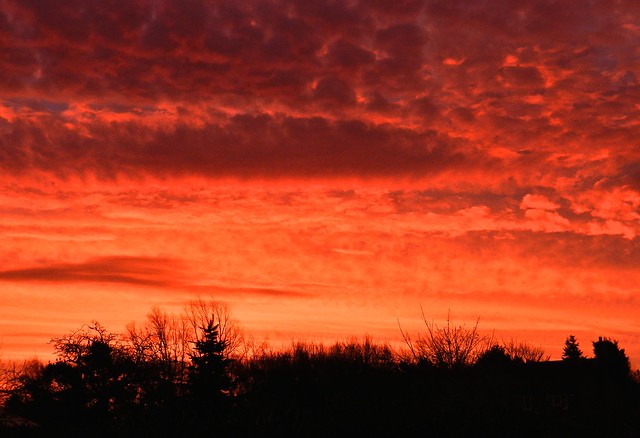
Sunrise 17th February 2016


Tuesday, 16 February 2016

Home Brew Weather Station (Part 4)

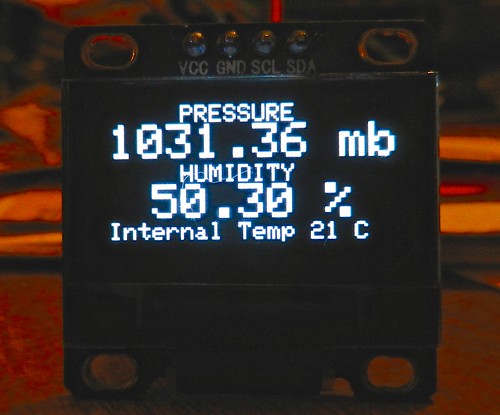
The small OLED display arrived and after an hour or so getting it to work I hit another problem. The Arduino Uno didn't have enough memory space to store all the new library instructions. Fortunately I had a spare Arduino Mega which has oodles of memory space so transferred everything to that. The sketch (program for the Arduino) now consists of nearly 200 lines of instructions which compile to about 20K (20,000) bytes of code with nearly 2K of additional space needed for storing information.

This is the OLED display:

DSCN5856

It consists of an array with 128 dots across by 64 dots down which can be made to glow like light emitting diodes. Unlike TFT screens it has no need for a back light so the background stays a deep black. Even though the display measures a fraction less than an inch it is very easy to read the lettering.

The thin wavy line seems to have been a foreign body on the display as it cleaned off this morning. My only concern is the temperature the display reaches. I picked it up after it had been on for a few hours and nearly burnt my finger. An IR thermometer showed part of the back had reached 40C. It does have a working range from -30C to +80C so maybe that is normal.

Monday, 15 February 2016

Monday Mystery - Guess What

Mystery

STAR02

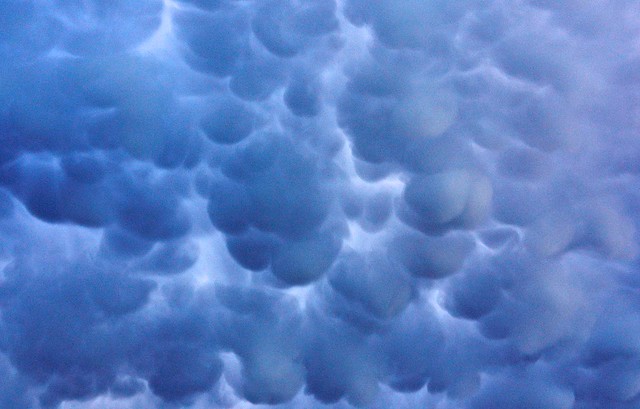
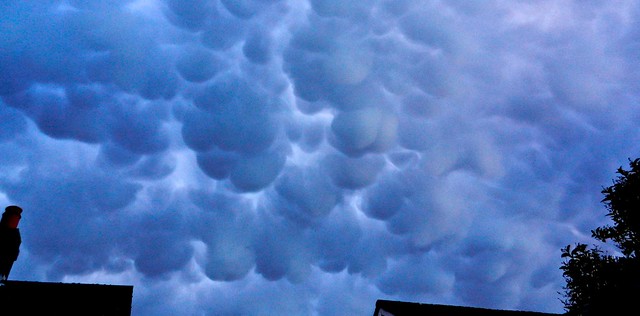
Congratulations and the virtual Midmarsh Gold Star to TexWisGirl, Wilma, Ragged Robin and Adrian for identifying last week's cloud formation. Acutally called mammatus or mammatocumulus. They can occur when the rising moisture and ice crystals in the cloud become too heavy and start to descend making large bumps below the main cloud. These can be a mile across. It is usually  associated with thunder / storm clouds.

DSCN5815

DSCN5816

The formation can be very short lived so I was really pleased I popped outside at just the right moment to be able to record the phenomenon.

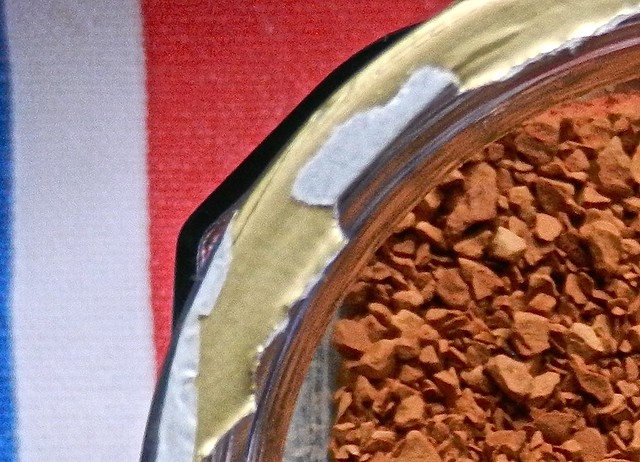
Back to a closer view of something for this week's mystery photo.
Guess What:
DSCN5790

Please leave any guesses in the comments.
They will be revealed, along with the answer, next Monday.
No prizes, just for fun and maybe a virtual Midmarsh Gold or Silver Star.


Saturday, 13 February 2016

Clouds + Home Brew Weather Station (Part 3)

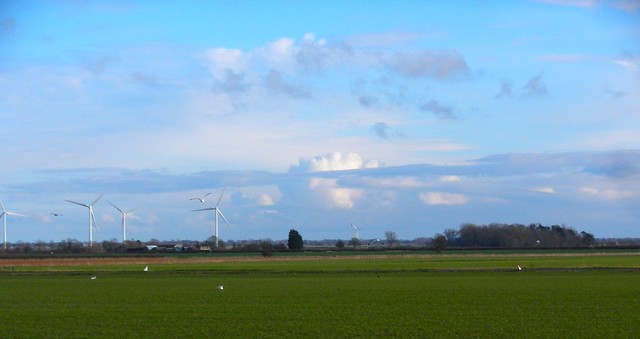
Interesting (to me anyway) mix of clouds spotted yesterday:

DSCN5845

DSCN5847

Today has been grey all day. As the wind is now coming from the East it has felt bitterly cold.


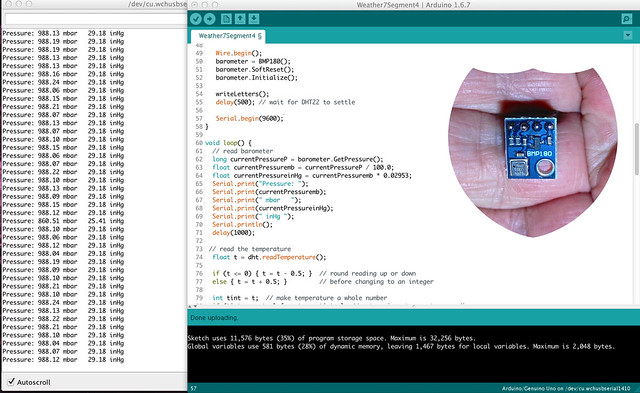
The home brew weather station is still evolving. I spotted a barometric pressure sensor suitable for use with the Arduino and other similar computers. After a hassle with the Arduino IDE not liking the library for it I had to update to the latest version of the IDE (used on the computer for writing the program / instructions / sketch). So far to check the sensor works I have it sending its readings back to the computer for display. As always I found out how to program it by searching the internet. What would I do without it?

Screen Shot 2016-02-13 at 15.24.15

The sensor is tiny, slightly smaller than my thumb nail and a steal at £2.56 (about $3.70). Next will be to add an OLED type display to show the pressure and it will also enable me to show the humidity readings. That's the theory anyway.

There was a strange glitch with the 7 segment displays. The top one kept going blank. Still not sure why. The driver chip can send the display to sleep to save power so that may have been happening at various intervals. It shouldn't as I send a command to wake it up at the start of the program. Then it is supposed to stay awake unless told to sleep. Anyway I added a further wake up instruction every time the display is updated. It's been running on a soak test for nine hours and so far it has displayed everything properly so that will have to do for a cure.

Thursday, 11 February 2016

Home Brew Weather Station (Part 2)

I had a change of mind with the display. For me not only the immediate temperature is of interest but so are the maximum and minimum temperatures.

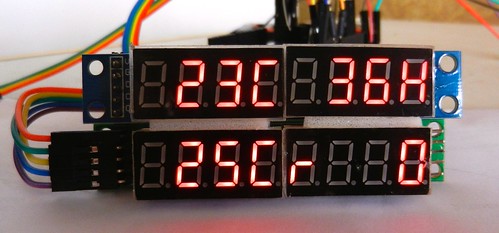
First thought. With a bit of extra coding and rearranging the display I came up with:
DSCN5835

Top left, immediate temperature.  Top right immediate percentage relative humidity.
Bottom left, maximum temperature, Bottom right, rainfall in mm.
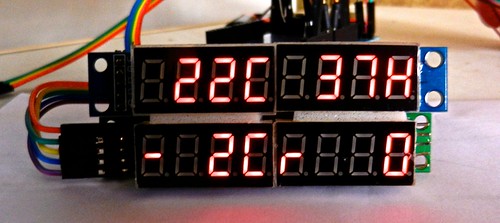
DSCN5837

Switched so the bottom left shows minimum temperature.
I put the sensor in the top of a freezer to check it showed negative temperatures OK.

Further thought. Do away with the humidity reading:
DSCN5838

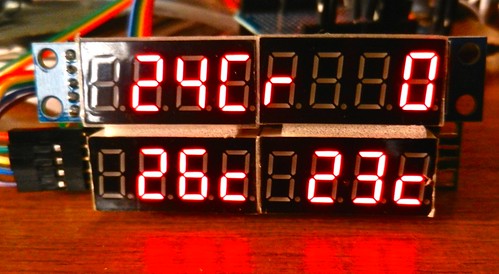
Now I have:
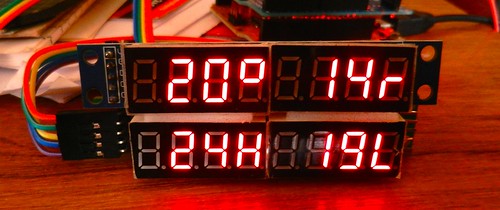
Top left, immediate temperature, Top right, total rainfall in mm
Bottom left, maximum temperature. Bottom right, minimum temperature.

Finally:
DSCN5842

I am quite pleased with the final layout. The whole thing draws less than 80mA.
Once cased the unit will have buttons to reset max / min temperature and rainfall. On my old home brew rain gauge I reset the count at the beginning of each month and I would probably want to reset max / min temp daily.
Related Posts with Thumbnails