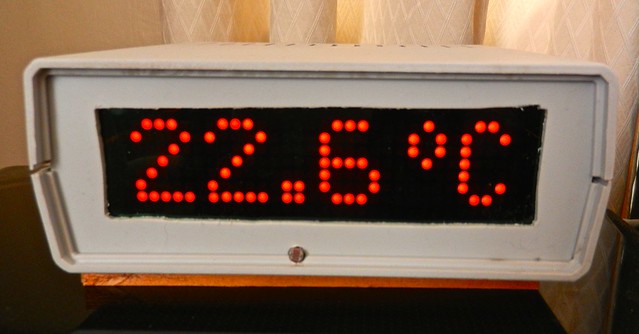
This must have been one of the shortest lived items on my Round Tuit pile as I managed to get the Arduino driven temperature display boxed a couple of days ago. For the rectangular hole in the plastic front I drilled small holes at the corners and used a Rotozip to cut the lines. Finally finished with a file.
Pity about the small nick in one corner. I would dearly love to have a laser engraver / cutter machine. The display matrix is behind two acetate sheets, one red, one green so only the illuminated LED dots show against a black background.:
One added extra was an LDR (light dependant resistor) which can be seen under the display. This monitors room light levels and is used to switch the LEDs to a brighter level in very bright lighting conditions. The unit is powered from a 5V wall wart. I'm very pleased with the readability of the large display from anywhere in the room.
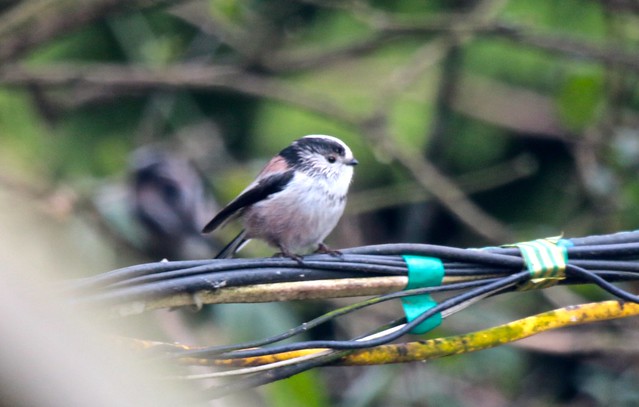
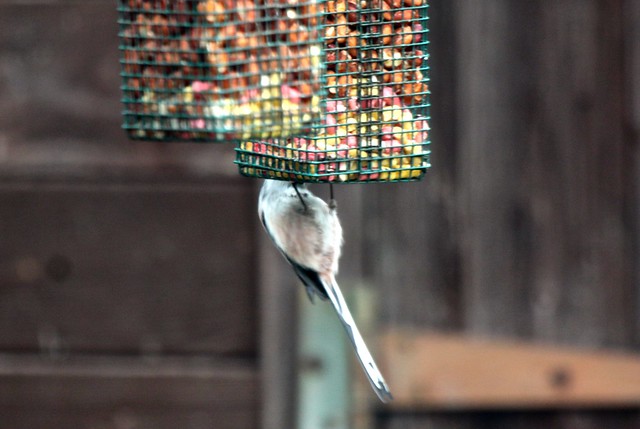
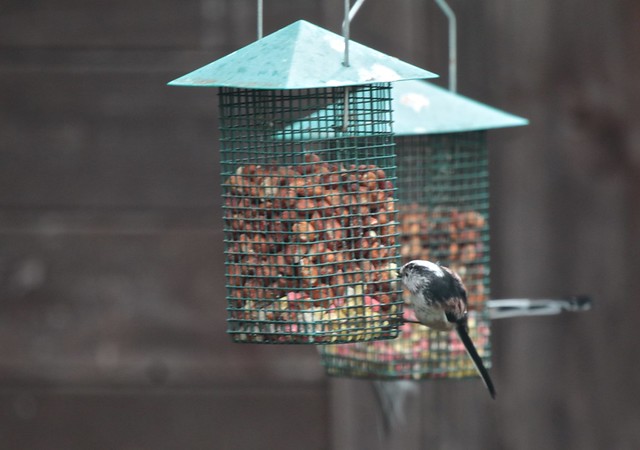
Recently there have been brief visits by a small flock of Long Tailed Tits but a couple of days ago a group of about five stayed in and around the garden for about three hours making occasional sorties to the bird feeders:
They were most interested in the various fat based treats so I've made sure there are plenty to choose from.
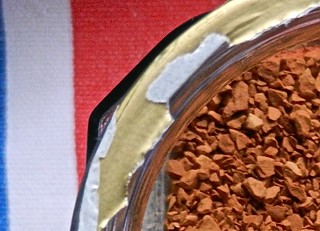
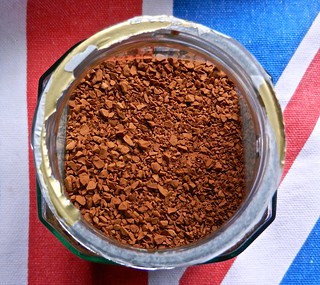
Last week's mystery photo turned out to be more difficult than I expected. Congratulations and the virtual Midmarsh Gold Star go to Adrian, Ragged Robin and Wilma who correctly identified the top view of a jar of instant coffee granules - my favourite Kenco Smooth.
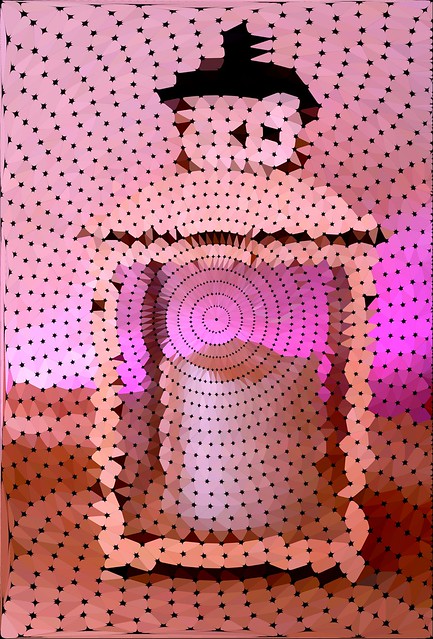
This week the object is hidden behind a pattern.
Guess What:
Please leave any guesses in the comments.
They will be revealed, along with the answer, next Monday.
No prizes, just for fun and maybe a virtual Midmarsh Gold or Silver Star.
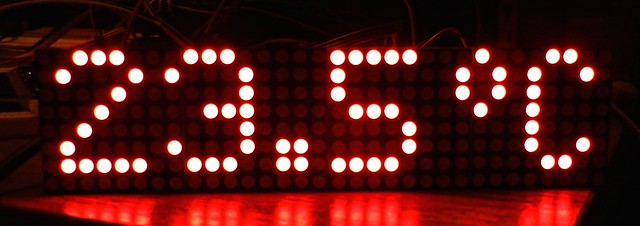
Managed it. The 32x8 LED matrix can now display temperature to one decimal point.
Making the digits just 5 dots wide enables more to be shown on the four 8x8 LEDs:
Another project on the Round Tuit pile for boxing up.
After running the display for a while I made a small adjustment, moving the decimal point to the bottom and reducing the degree symbol a tad:
The LEDs look white on photographs but they are actually bright red.
While I'm waiting for a couple of parts for the weather station I decided to have a play with a larger LED display. This one is made up with four units each with 8 LEDs across and 8 LEDs down so the whole matrix is 32 x 8. Total size 5 x 1.25 inches (128 x 31mm). Each LED is addressable so, with a bit of programming, it can show simple graphics, letters and numbers. My first attempt was an abject failure to show anything but the next day I found I had the two data connections reversed. Once put right it sprang into life. The shapes of letters and numbers have to be defined in the program. That took a while to investigate and remember from school days how to use arrays to store information and how to retrieve and display it. The letters came from a program on the internet but the numbers I had to design myself.
This is the display, driven by an Arduino Uno R3 and powered by a 5V battery:
So far just a test program to get everything working as I want. My aim is to add one more part to measure temperature so I end up with an electronic thermometer I can read from across the room.
As you can see, the Arduino driven turntable I made quite some while ago is still working.