Showing posts with label Tinkercad. Show all posts

Saturday, 9 May 2020

Tinkering Again

As the power supply for my transmitters resides under the desk I have a separate volt meter so I can check that all is working as it should.  My old LED one had some failed LEDs so I bought a cheap LCD one to replace it. The bare unit needed something to hold it in place so after 30 mins in TinkerCad I came up with:

Screenshot 2020-05-09_13-03-05-226

The instruction were copied to Ultimaker Cura to produce a file for the 3D printer.
Unit rotated to print face down. No supports needed that way round.

Screenshot 2020-05-09_13-32-41-292

2hr 34 minutes later it was ready to fit the meter:

DSCN0304c

Had to do a bit of minor filing as the hole was about 0.5mm too small but soon it was mounted, wired up and connected:

DSCN0309c

All done.

Friday, 15 March 2019

Tinkering Again

I decided to 3D print a name sign for my home.
It is taking a few trial test prints to check my CAD efforts are producing what I need.
The sign will be made with seven individual letters.

Just working on the first letter at the moment.
I started with a letter height of 120mm with three holes for screws.
That was bigger than needed really and took about 5 hours to print.

DSCN9425

For a second test print I reduced the height to 100mm - much better.
Also at Adrian's suggestion I tried to make countersunk holes (middle red letter A)
Unfortunately I didn't get them centred over the holes and the slope was too sharp.

Back to TinkerCAD to try again.

Screenshot (2019-3-15 6.05.38 pm)

The holes are made with thin cylinders.
The countersinking made with inverted cones and nicely aligned after much jiggling.

Saved and the file loaded in Cura

Screenshot (2019-3-15 6.07.58 pm)

Reduced the infill to 8% and speeded up the extruder moves.

 DSCN9420

That brought the time down to 2h 45m
That print (in green above) looked much better.

Sunday, 3 March 2019

Tinkering

Last week I was experimenting with printing 3D nuts and bolts / screws.
FreeCAD includes data for many standard sizes.
This is a 12mm screw + nut:

 DSCN9387

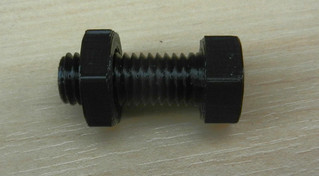
What I found was when printing a 12mm screw and then the corresponding 12mm nut, the nut was slightly too small and wouldn't fit. In the end I had to increase the size of the nut in the X and Y directions by about 10% in Cura to produce one which fits.

This week I have had a look at TinkerCAD. This is an on line 3D modelling site run by Autodesk.
Free to join up and experiment with. One can start with basic 3D solid shapes and 'tinker' with them to produce whatever your imagination can come up with. An ideal site for beginners to CAD (computer aided design), such as myself.

Once I had gone through all the basic tutorials what to build as a first project?
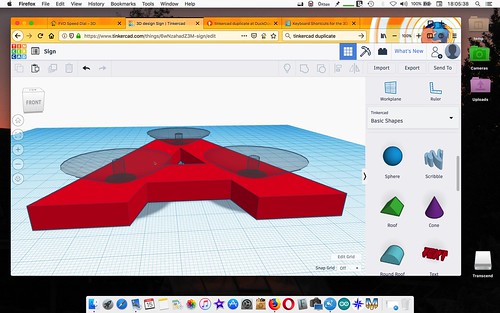
A small free standing sign with my amateur radio callsign came to mind.

Screenshot (2019-3-2 9.21.43 pm)

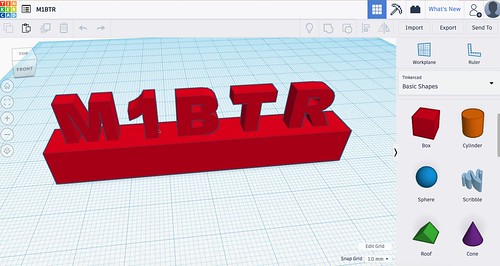
The base is made from a basic cube, stretched and resized.
Fortunately a block letter alphabet is included in the choice of 3D shapes.
These were added singly, rotated and moved to fit on top of the base block.
There are very easy, once learned, facilities for aligning the various parts.

Once designing was finished the project was saved to the laptop as a .stl file.
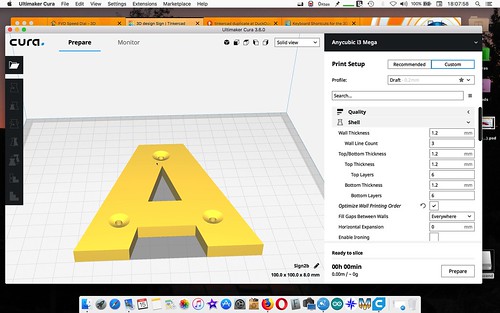
Then loaded in Cura to produce the instructions for the 3D printer.
Temporary thin supports had to be included in the instructions for sections of the design which would be created overhanging the base level.
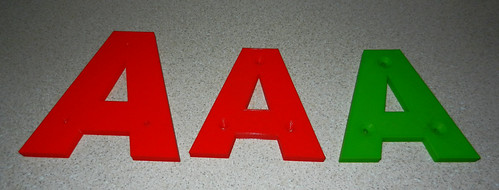
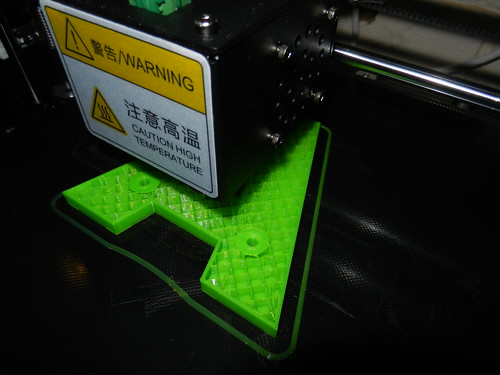
Resulting 3D print:

 DSCN9388

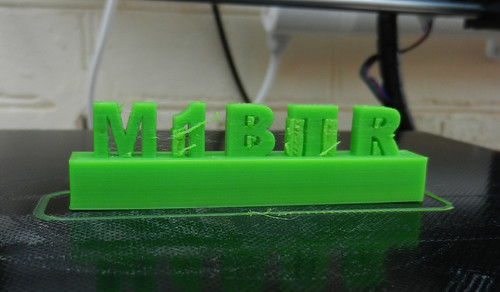
Once the temporary supports had been removed:

 DSCN9389

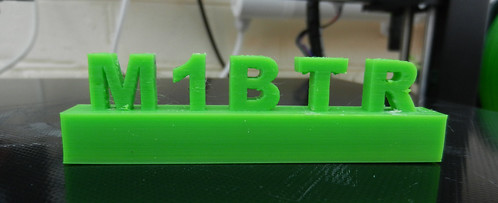
The base may look as though it is a solid lump but it is mainly hollow with a 20% infill of criss cross supports. Total print time 1hr 9min..


Related Posts with Thumbnails