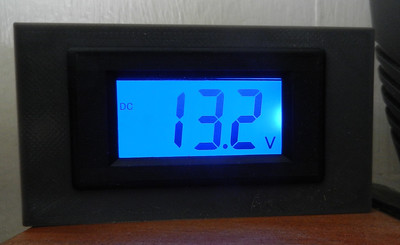
As the power supply for my transmitters resides under the desk I have a separate volt meter so I can check that all is working as it should. My old LED one had some failed LEDs so I bought a cheap LCD one to replace it. The bare unit needed something to hold it in place so after 30 mins in TinkerCad I came up with:
The instruction were copied to Ultimaker Cura to produce a file for the 3D printer.
Unit rotated to print face down. No supports needed that way round.
2hr 34 minutes later it was ready to fit the meter:
Had to do a bit of minor filing as the hole was about 0.5mm too small but soon it was mounted, wired up and connected:
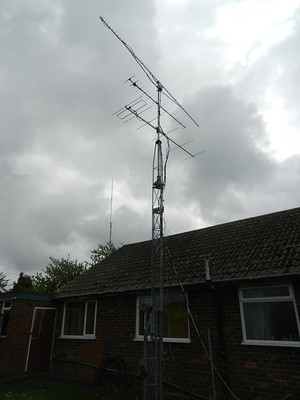
Towards the end of last month I invested in a new transmitter.
This one works on three different amateur radio bands and has more power that the ones I had been using. Last Sunday I spent the day re-erecting most of the yagi beam aerials I used to have on the mast.
The radio and the aerials allow me to work on the 2m, 73cm and 23cm bands. The latter is one of the microwave bands. The 55 element aerial for that is at the very top of the mast. Using 23cm depends very much on atmospheric conditions. They were nearly right for me to work a Danish station last night but alas conditions changed before we could make a full exchange of information.
On the way back after dropping the car off for its MOT and service this morning I cut through the churchyard. I retraced part of the journey along a footpath we often take on our walkabouts.
Taken, hand held, with my iPod running the free app Hyperlapse.
It did its best to smooth out the video but still somewhat jerky in places.
Partly as it looks as though it was trying to re-focus.
Partly as I had to keep a looking down for tangled roots on the earth footpath.